Yoga Props for Beginners: What You Need and What You Can Skip
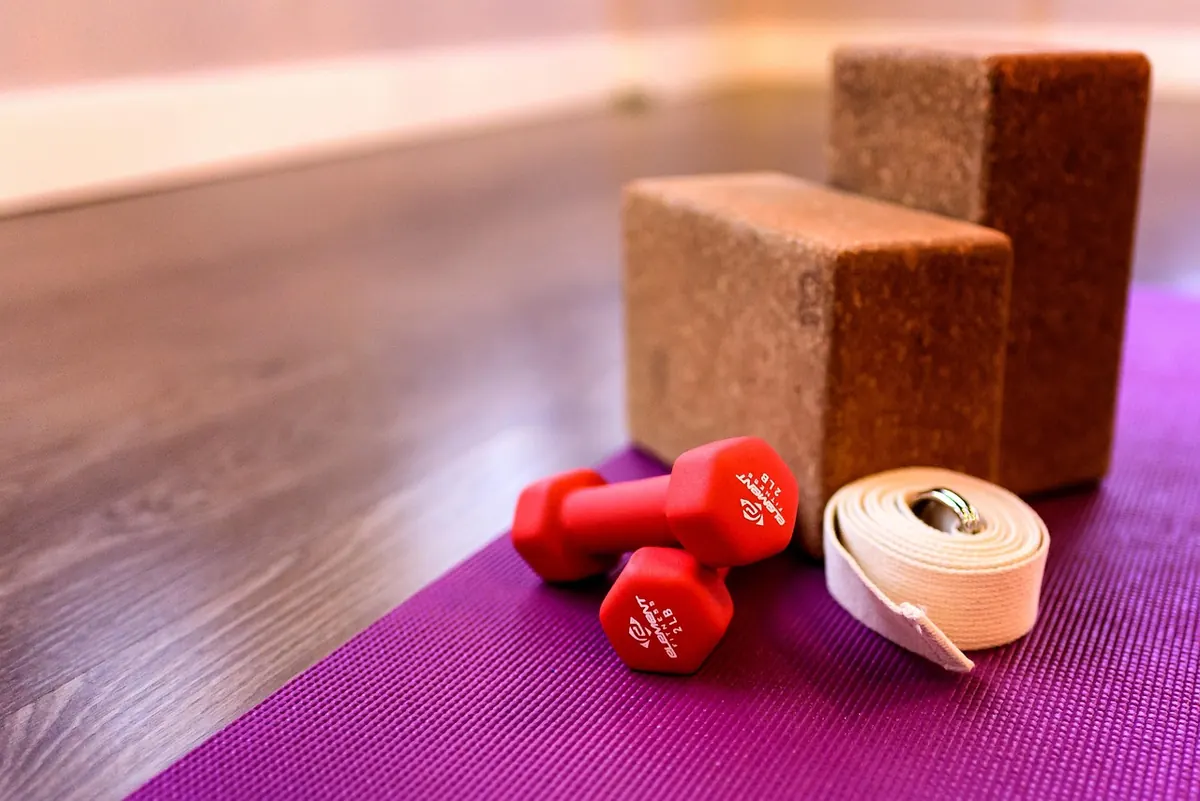
Most beginners arrive at their first yoga class with a mat and a vague hope that they will somehow reach their toes. Then the teacher hands out two foam blocks and a strap, and something clicks. The poses haven't changed; the props have simply made them possible. A block is not a beginner's crutch, and reaching for one is not a confession that you're doing it wrong. Props bring the floor closer, give your hands somewhere to land, and let you stay in a shape long enough to notice what's happening. The trick is knowing which few are worth your money.
Start with what you already have
Before you buy anything, practise for a week with nothing but a mat and pay attention to what your body keeps asking for. Most people discover the same two things: their hamstrings are tighter than they expected, and their shoulders do not want to rest on the floor in a seated forward fold.
If you don't own a mat yet, wait a little. A carpeted floor is fine for seated and reclined work, and a bath towel laid over it will stop you sliding. What you cannot fake is grip on a smooth floor. If you practise on wood or tiles, a mat becomes the first genuine purchase, because a slippery surface under a downward dog is how wrists and confidence get hurt. Look for one that feels slightly tacky when your hands are a bit damp. Four to six millimetres of thickness is plenty; very thick mats feel luxurious when you're sitting and distinctly wobbly when you're balancing.
The three props most beginners end up using
Two blocks
Blocks do the job your hands cannot reach. In a standing forward fold, a pair under your palms lets your spine lengthen instead of your back rounding. In triangle pose, a block beneath the lower hand keeps your chest open and stops you collapsing towards the floor. Supported bridge is far kinder with one under the sacrum.
Buy two rather than one, because almost every pose that uses a block uses it under a single hand or foot, and you'll want a matching pair for symmetrical shapes. Cork is firmer and heavier; foam is lighter and cheaper. Foam is a perfectly sensible starting point.
A strap
A strap is an extended arm. It lets you hold a foot in a reclined hamstring stretch without rounding your lower back, and it helps you find space between your shoulder blades in poses where your hands cannot yet meet behind you. Choose a buckle strap around 2.4 metres long. A buckle is much easier to adjust one-handed than a fixed loop, which matters more than you'd expect once you're halfway into a pose.
A firm blanket or cushion
This is the least glamorous prop and the one that changes the most. Folded under your hips in a seated pose, a blanket tilts the pelvis forward and makes sitting upright nearly effortless. Rolled, it supports the neck in reclined poses. Folded again, it pads the knees in kneeling shapes and the heels in a squat. One wool or cotton blanket, folded to different thicknesses, covers all of it.
What you can safely skip for now
- A bolster. Lovely for restorative practice, expensive to buy and awkward to store. Two firm pillows inside one pillowcase do almost the same job.
- A yoga wheel, headstand bench or inversion stool. These serve specific goals. Wait until a teacher tells you that one of them is the thing standing between you and what you want to do.
- A sandbag. Useful in restorative work later; a heavy folded blanket will do.
- Specialist clothing. You need leggings that don't roll down and a top that doesn't ride up when you fold forward. Beyond that it's preference, not equipment.
- Mat bags, grip towels, printed straps. Nice to have, never necessary.
- A meditation cushion. Not until you're sitting for more than ten minutes at a stretch. Folded blankets first.
Budget-friendly swaps that actually work
- Blocks: two or three thick hardback books of equal height. Stack them, press down firmly to check they feel solid, and don't use anything that wobbles.
- Strap: a dressing gown belt, a leather belt or webbing from a hardware shop. It must be completely non-stretchy — an elasticated belt or a knitted scarf defeats the purpose.
- Bolster: two firm pillows in one pillowcase, or a rolled duvet.
- Blanket: any blanket you already own, folded to the thickness you need.
- Knee padding: a folded towel or a garden kneeling pad.
- Mat: a cheap closed-cell camping mat works for seated and reclined poses, but it's too thin for standing work.
Four questions before you buy anything
- Which pose do you avoid because something hurts, slips or simply won't reach?
- Would a prop make that pose more honest, or just disguise the fact that you're forcing it?
- Do you already own something that does the same job?
- Will you actually carry it to class? A prop at the back of a cupboard helps nobody.
Most studios lend blocks, straps and blankets, and many sell off older props cheaply. Borrow first, notice what you keep reaching for, then buy that one thing.
One note on your body: if you're working around an injury, are pregnant, or are recovering from surgery, props can make poses more comfortable, but they aren't a substitute for proper guidance. Ask a qualified teacher or a health professional what suits you rather than leaning on a prop to push through pain.
A sensible first kit
If the floor is slippery, buy a mat. Then buy two blocks, one strap and one blanket, and stop there. That short list covers the overwhelming majority of beginner classes and home practices, and it costs far less than a shelf of equipment you use twice.
Everything else can wait. As your practice settles, your body will tell you clearly what it needs: a firmer block for standing poses, a second blanket for savasana, a bolster once restorative practice becomes part of your week. Let those requests come from your own practice rather than from a shop window, and you'll end up with a small collection of props you genuinely use — which is the only kind worth owning.
Photo: leegreen12 / Pixabay